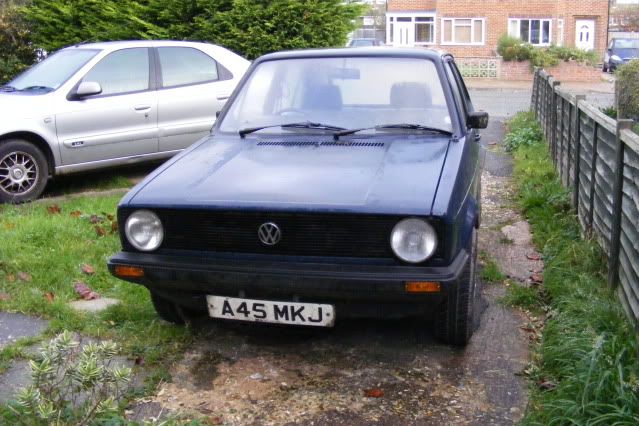
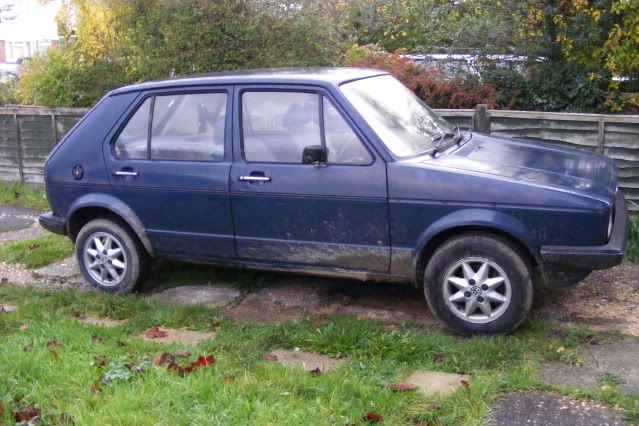
In fact as of last Friday night this is my old car, but let me share with you the highs and lows of this Mk1 Golf owning experience. Although having tinkered with Mk1’s before i had never owned one, and you know what its like; a car is mentioned, a price is mentioned and you spend a few days thinking of what could be. This is what happened, and within a week or two i was the proud owner of this little puppy. Bought off the back of some poor quality photos and a night-time inspection it was a relief to see no horrors the following morning. It was slightly muddy and sported odd size tyres but it was everything it said it was!
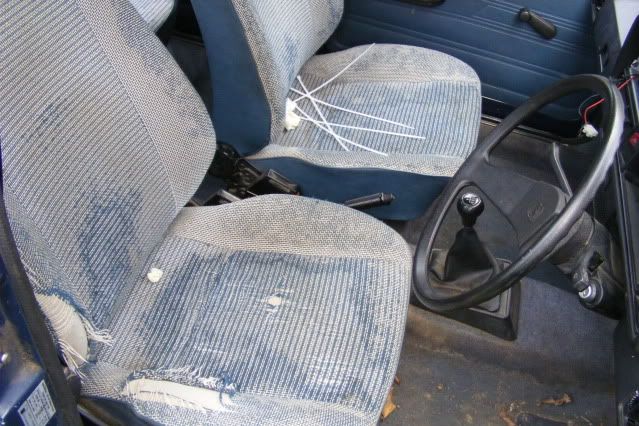
Inside the seat covers had started to self destruct and were all but fit for the bin.. fortunately i know a man (my old man) and i had a plan.
Buying the car last November, my Mk1 Polo was tucked away in the warm and i needed a car to take to meets etc.. so things needed changing. First up it needed lowering, especially as those wheels were destined for the daily 6n and the Mk1 Polo was to donate it’s Scala rims. Cue Ebay for a budget coilover kit and ‘voila.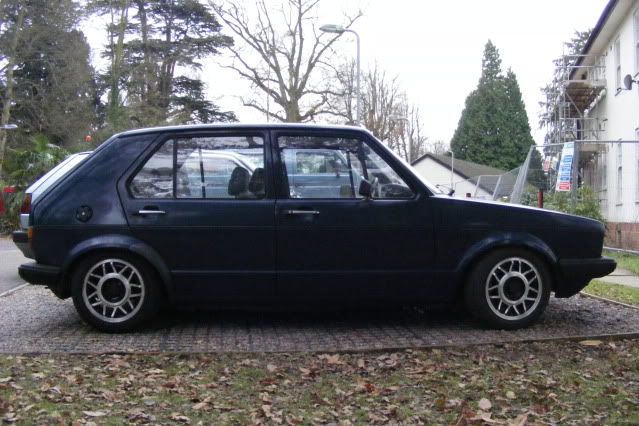
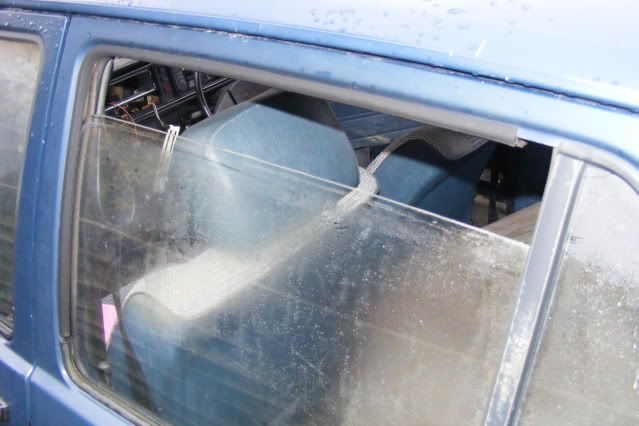
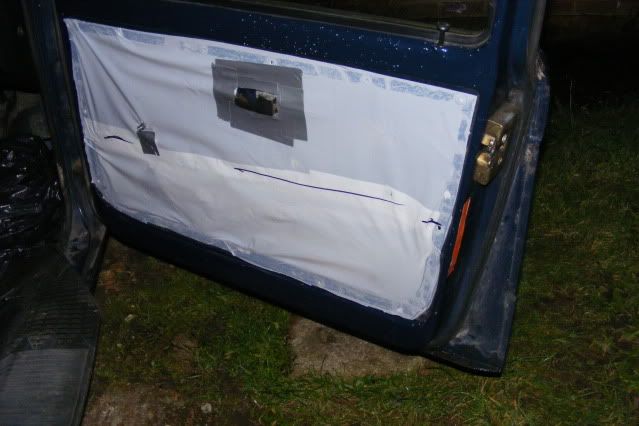
With it sat right, it was time to address the window seals. New large felts and outer scrapers were fitted not a moment too soon – the old ones had done a great job but were shrinking away! Using the large felts from a T25 and trimming them to size (put something in the seal to stop it closing up) and the Citi Golf Scrapers which needed a slight tickle with the hacksaw too, i got the job done and saved a few pounds on top. While doing the seal thing the boot was treated to a new rubber – it had seen better days and had been siliconed one too many times. The door membranes were addressed too, better to be safe than sorry wet.
With it now being more presentable from the outside it was time my trimming plan came into play. Armed with 3 yards of Blue/Green westfalia plaid, i was about to take over my lounge at home and turn the dining table into a work bench!
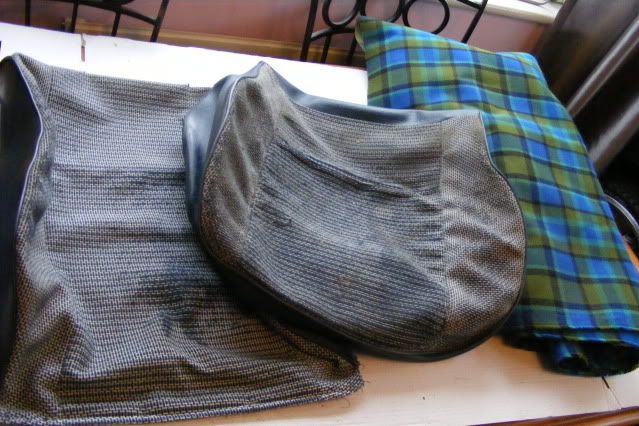
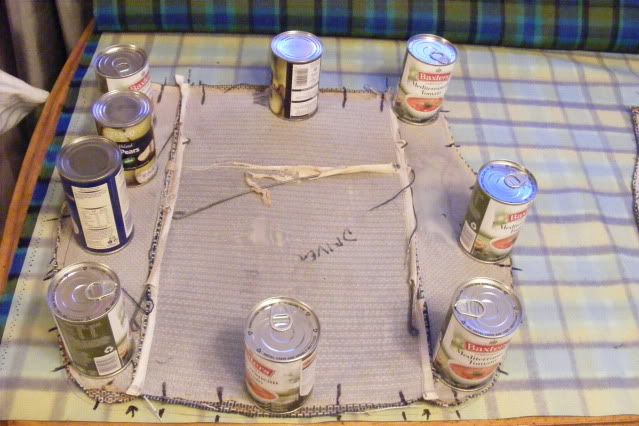
By taking the “faces” out the old seat covers and “check marking” them i was able to transfer the pattern onto the new material, being careful to keep the lines running straight and the same on both drivers and passenger seat, and later on the rear bench too.
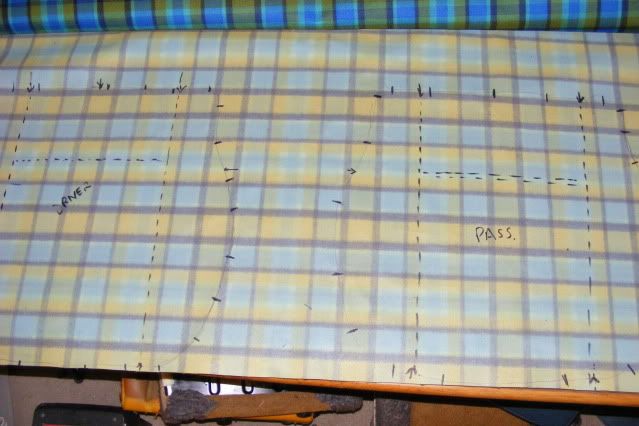
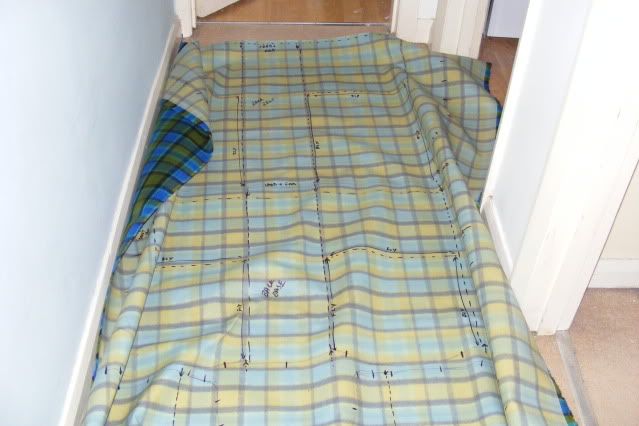
After a few evenings working on it, i had a completed pattern. It just needed cutting out, a bit of sewing, and it’d be done!
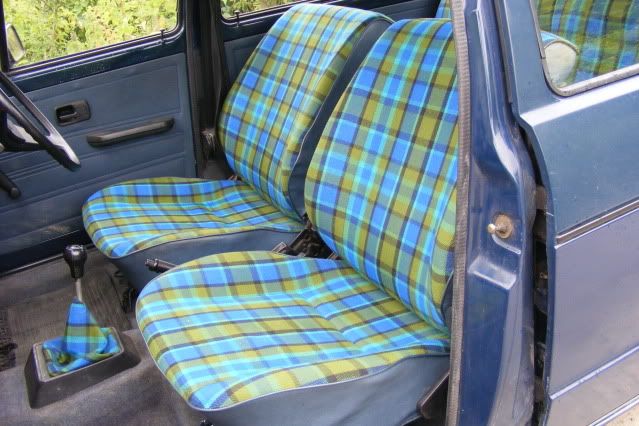
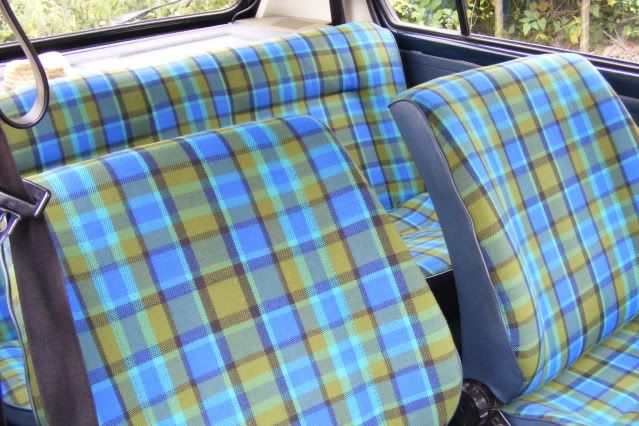
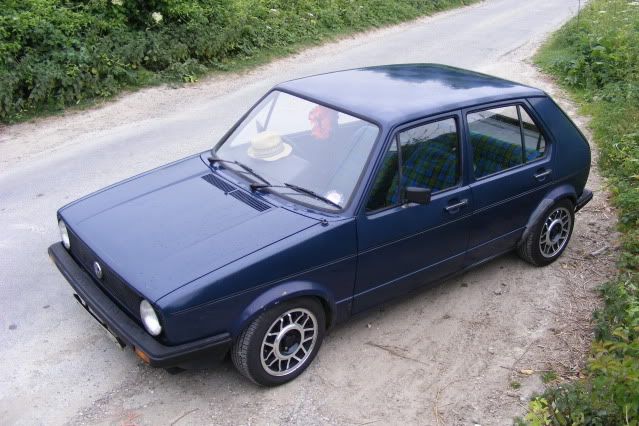
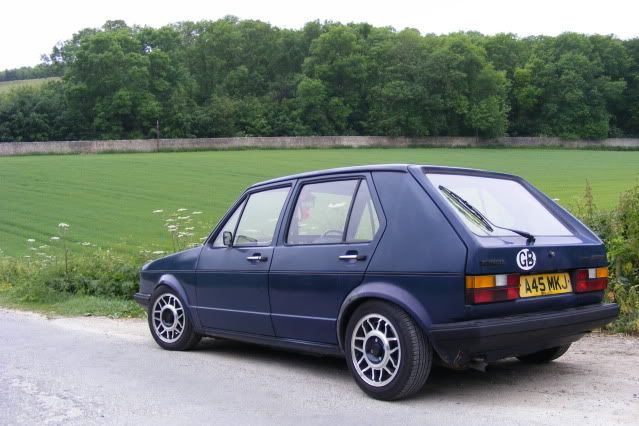
And that was my Mk1 Golf… now in Hampshire with its new owner.
If you would like to read a more in depth account click here for my Mk1 Owners Club build thread.
Andy
