With Winter setting in, now is probably a good time to tackle the rusty VW body panels on your car. Here’s a quick overview of what’s involved
Regardless of whether you intend to carry out the work yourself, or end up paying someone else to do it, a proper metal repair is always more preferable to applying filler or using fibreglass as a quick fix. If you do this, rust will continue to eat away underneath. If you want your classic to last as long as possible, cutting out the rust and replacing it with sound new metal is the only option.
Dig deep
First, it’s a case of finding out the extent of the corrosion. If you’re working on a complete, stripped bodyshell this might mean having it chemically dipped or treated to a media blasting process to strip off all the old paint and corrosion. Media blasting will also reveal sections of the body that have become dangerously thin which will need replacing. On more local rust spots, probe with an old screwdriver or sharp metal tool to determine just how far things have gone – and how much metal you will need to cut out.
Cut and thrust
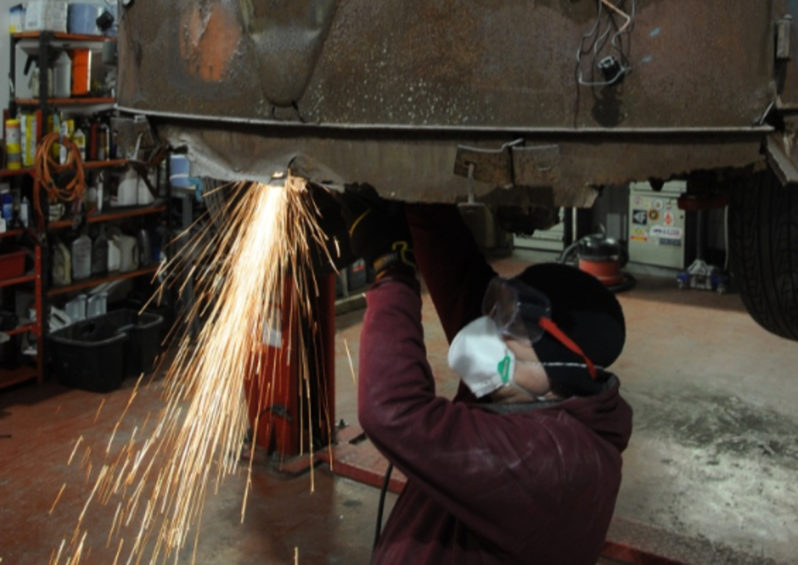
With the rusty areas exposed, you now need to cut out the rot. You can use simple tin snips to cut through thinner steel, while most professionals like to use a 3in air cut off wheel to make a really clean cut. However an angle grinder with a 1mm slitting disc will work just as well. It’s a case of taking your time and letting the blade do the work. Try to keep your cuts as neat as possible. If you are removing a large structural section, such as a door frame or pillar, it would be wise to brace it up beforehand to maintain integrity of the bodyshell.
Whoaaah there….
Before breaking lose with the cutting tools, make sure any wires, fuel lines and other fragile components are well out of the way. The last thing you want to do is cut through one of them. Check what is on the other side of where you are; it’s all too easy to cut a hole in your carpet (or worse still, set fire to it!) Cover any glass to protect it from flying sparks and have a CO2 fire extinguisher at the ready.
Panel perfect
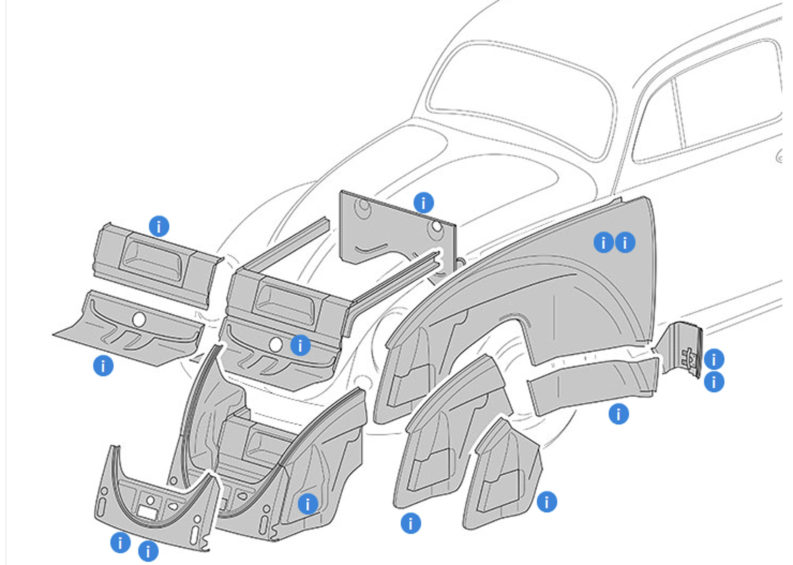
You’ll be amazed by the choice of repair panels available for older VWs. Gone are the days when you had to make up a pattern from the old panel and painstakingly cut it out from a section of sheet metal because chances are, someone will have already done that for you. There is sometimes a selection of different quality repair panels available to suit different budgets – the choice is yours, but generally the better quality panels are made from thicker metal and are a more accurate fit and therefore require less fabrication afterwards. What you save in money, you’lll typically spend in time.
Proper preparation
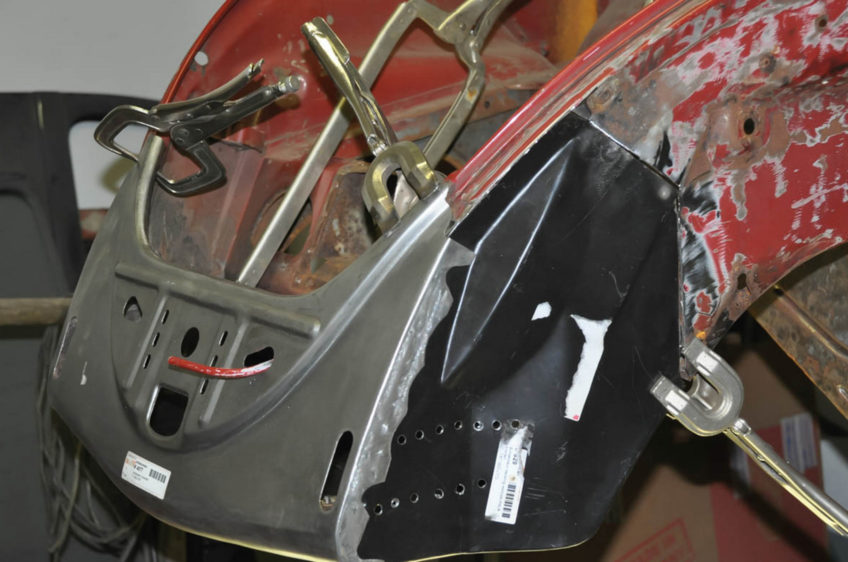
Trial fit the replacement panel and carefully trim if necessary. Remove any surface corrosion, paint and underseal from the surrounding metal with a flap disc mounted in an angle grinder. You need bright, clean metal for the best welds. But before you do this, apply a light dusting of weld-through primer to all the bare metal surfaces, including the repair sections, to discourage rust. When this has been done, it’s a matter of clamping the repair panel into position so it can be welded. Take time to make sure it’s a decent fit and that any panel gaps are spot on. It’s a lot easier to alter things at this stage than discovering it later on.
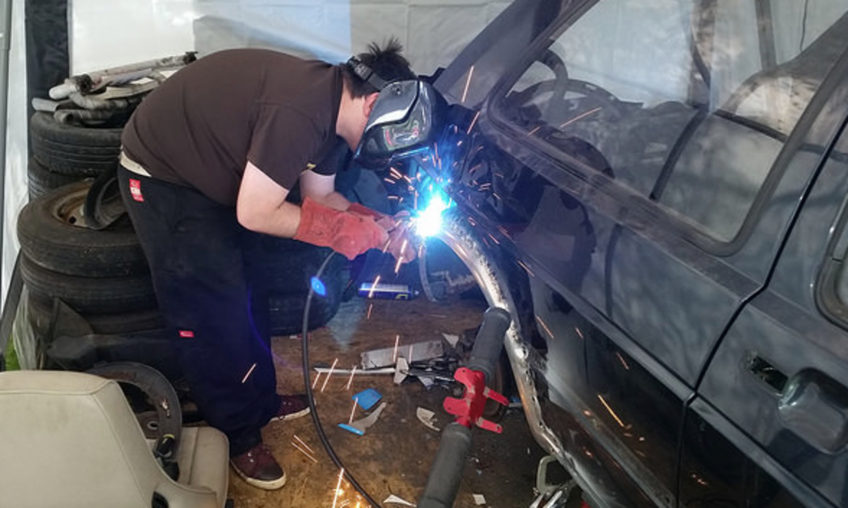
Weld done
The replacement panel can now be welded using short bursts to allow the heat to dissipate and prevent the metal from buckling. The tack welds are then joined, so they look continuous. Any sill sections will need to be seam-welded so no water can seep through. When that’s done, the tops of the welds may need to be ground flat with an angle grinder to give a neat, tidy finish.
Finishing touches
With the hard bit done, a thin skim of body filler can be applied to blend the welds with the surrounding bodywork. Once this has been sanded down, the repair should be virtually invisible. If you’ve replaced a section where the inner wheel arch meets an out panel, for example, you may need to apply seam-sealer so there is no risk of water getting into the sill cavity.

Once any bare metal has been covered with an etch primer, it’s job done. The previously rotten bit of bodywork that’s been playing on your mind for years is now gone, and the fresh new metal is ready for paint, or a generous coating of RAPTOR.
Before you grab a grinder and go running to the garage though… take a look at our guide to Workshop safety here.
Ian
The opinions expressed here are the personal opinions of the author and do not necessarily represent the views and opinions of VW Heritage.
Do you have the lower metal driver section for a walkthrough section early bus?
TY