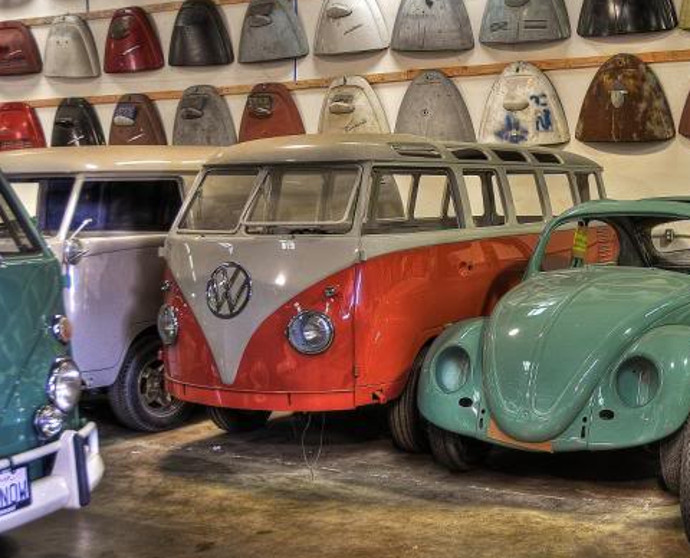
You find the perfect classic VW project, trailer it home, step back and take a big, deep breath. The lamp’s been filled with midnight oil, the toolbox is open and you’re ready to get busy on the strip down. But wait. There’s got to be some method to the madness that follows so here are our top five tips to remember before you turn your garage into something resembling a breaker’s yard…
Assessment
To help plan your restoration, take the first few moments with your new acquisition assessing precisely what needs doing. It will help when planning your finances and also allow you to prioritise jobs to allow you to keep things on schedule. Oh, yes – it helps if you set yourself a deadline at the start, even if you don’t stick to it!
Try to assess what welding will need doing, which panels may need replacing and whether you really do need to strip everything down to a bare shell. At this point, be certain about precisely how far you want to go with it – are you looking to do more of a rolling restoration, or is it likely to be a full-on nut and bolt job?
You might find some parts can be refurbished rather than replaced – and if this is the case, get them sent off early to avoid delays later.
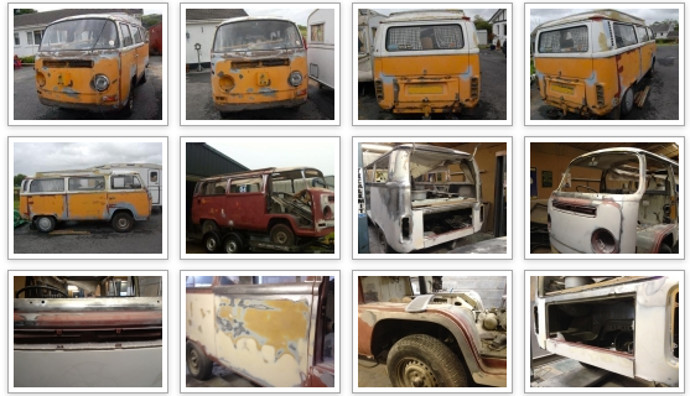
Photograph
It helps to keep a photographic diary of what you are doing. Start by grabbing a snap of the complete car ‘as found’ then take images of the exterior from every angle, the interior, engine and other details like badging. It’s also important to photograph components before you take them off so you know exactly where they went, how they attached and what other items may have been bolted to them. It will serve as a pictoral reference later on. Beyond that, be sure to take good quality shots of every stage of the restoration from welding to spraying to interior retrimming. Not only will it remind you of how far that heap of rusty metal has come, but also help validate precisely what’s been done if you decide to sell it on at a later date.
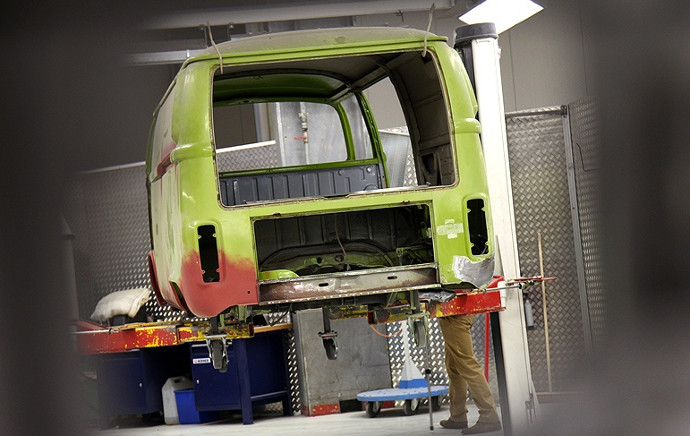
Strip
Were you one of those kids that took things apart and never quite managed to put them back together again? If so, there’s still time to change your ways when it comes to a VW project. Train yourself to memorise how something came apart and get into the habit of keeping everything together in one place so nothing gets lost. If you can’t trust your memory, make a diagram of how it all went together – or better still, lay the parts out and photograph them.
The thing to avoid during the stripdown is going in like a bull in a china shop. Be methodical and soak everything in release agent the night before to avoid stripping threads and avoid using brute force wherever you can. Using the correct tools will help and here’s a tip when undoing a stubborn, rusty fitting. Undo it a little, then gently tighten again a little to help clean out the threads and avoid it shearing off.
The golden rule is, never throw anything away; you might end up needing the old part to offer as an exchange when getting a replacement. More crucially, even if something like a relay doesn’t work, you’ll need to get the necessary part number off it to help ensure you order the correct replacement. The same goes when it comes to bodywork – if you cut out a rusty section, keep it as a reference (or pattern) to enable you to fabricate a new piece from fresh metal.
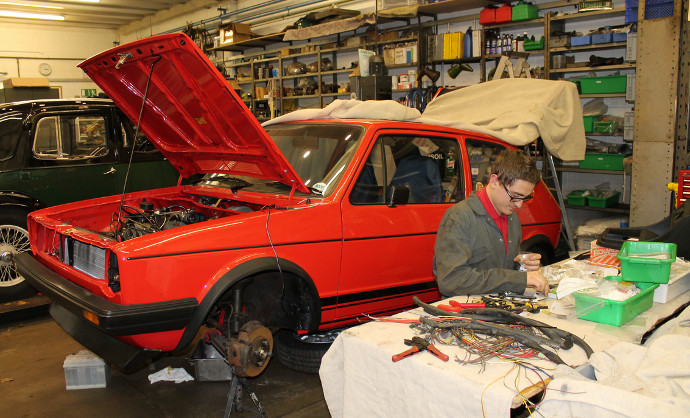
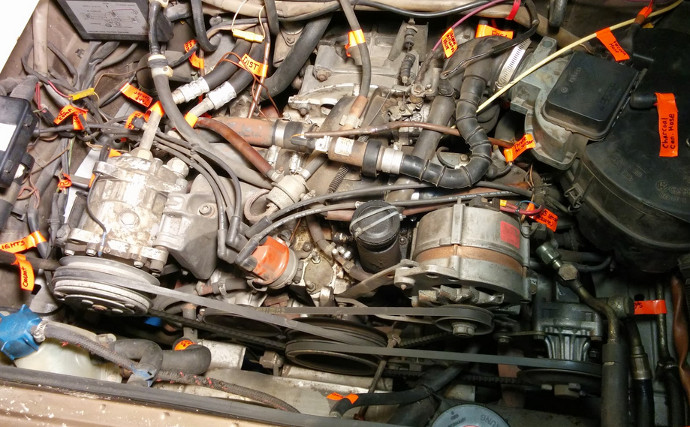
Label
It might sound like a pain, but attaching a label to parts as you take them off as an ‘aide-memoire’ will help no end when it comes to re-assembly. This is particularly important when it comes to engine parts and electrical bits. If you’re stripping an air-cooled cylinder head, for example, label all the components such as the valves, collets, pistons, pushrods that go with it (preferably together) indicating what number cylinder they relate to. Here, engineer’s blue paint (or pen) works well. When it comes to labelling wiring and electrical connections, it pays to be thorough so you can quickly place the correct wires on the correct terminals when you get to the exciting bit of putting everything back together again.
Beware of using biro on masking tape – chances are it will fade and you won’t be able to read it after a few months. Use a permanent marker instead, then cover the masking tape or tag label in sellotape to prevent oil contamination. A handy tip is to use coloured electrical ties to link wires with their relevant components. Get a piece of cardboard and draw a diagram of a component and insert the fittings through it in the right position. Not only will you be able to see where everything goes, but it will keep everything safe at the same time.
Bag up smaller parts in food freezer bags. Writing on the white panel with a permanent marker is fine but a safer bet is to include a note of what the parts are in the bag itself.
Keep safe
Finally, think about where you are going to store everything. For larger body panels, try the eves of a pitched roof garage so they are out of the way or put them in the loft. It’s all too easy for otherwise sound panels to get damaged if you’re always working around them. For other items, invest in shelving – keeping trim, suspension, brake, engine and electrical items separate for easy access. Being organised at this stage will prevent things getting lost and help during reassembly. To prevent the risk of rodent damage, install a couple of mouse-traps (humane ones, of course) in your workshop. Also, be mindful of the fact that a damp garage can be harmful to electrical gear and fabrics, so install a dehumidifier if necessary – or at least ensure there’s adequate ventilation.
Get sorted at the outset and you’ll not only avoid the inevitable head scratching later on but you will also make the whole restoration process simpler and more fun at the same time.
Ian
The opinions expressed here are the personal opinions of the author and do not necessarily represent the views and opinions of VW Heritage