After a lot of planning, and even more hard work, we are now moved in to our new warehouse in Shoreham-by-Sea. Moving 16,000 different part lines, and hundreds of thousands of individual components is no small task, but we thought we’d talk you through how we did it.
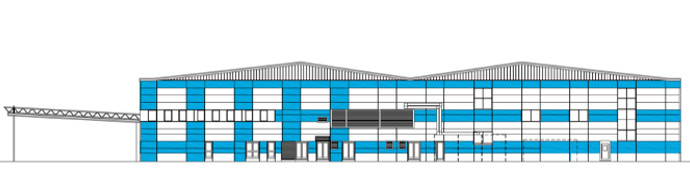
Step 1. We had to find somewhere big enough for all our parts. We managed to fill 25,000 sq ft in 7 years at Burgess Hill, so we are hoping 40,000 sq ft should last us a while; especially when it offers us the option to have parts over 3 floors, not just 2.

Step 2. With any move there are terms to negotiate, being a business there was planning permissions to apply for, and then any work we needed meant getting quotes to do it. This is the “boring” bit really, but most important all the same. If we’d of messed this up, it could of been a very different story.
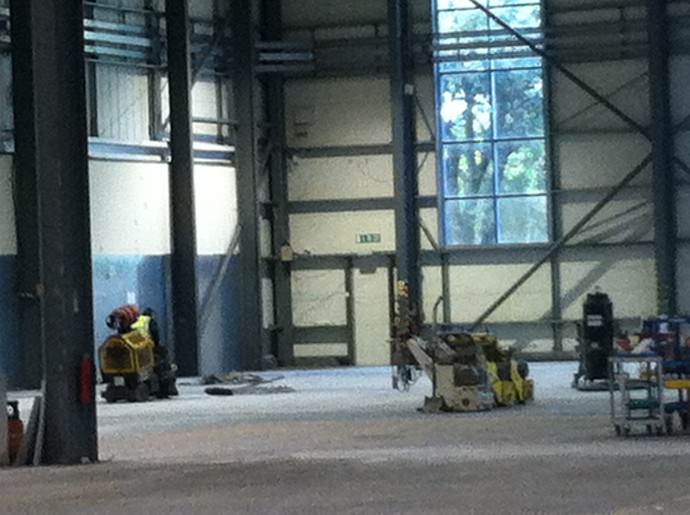
Step 3. Get the keys.. With the paperwork behind us, things started to get “fun”. Much the same as with a new flat or house, you’ll need to tidy up after the last owners. When you have a warehouse, this takes a little longer than an afternoon with the marigolds and a can of flash spray; we had to put a new warehouse floor down while we were at it too, no lino offcuts here!!

Step 4. Decide how to move your “stuff”.. We chose to do this ourselves, with existing staff mainly. There were a few months with long days, and weekends worked this summer! This process was even trickier, as we didn’t really close for any period of time over our move. A big thanks to our team for making this possible.
Step 5. Room planning, on the grandest scale. Our warehouse is cleverly arranged so the most frequently sold items are nearest the packing area. This helps to make our dispatch team as efficient as possible, and saves them walking miles unnecessarily to pick the orders you place.
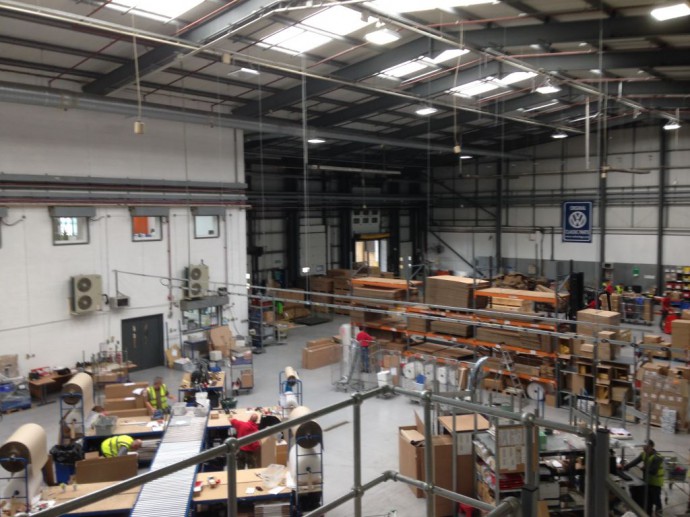
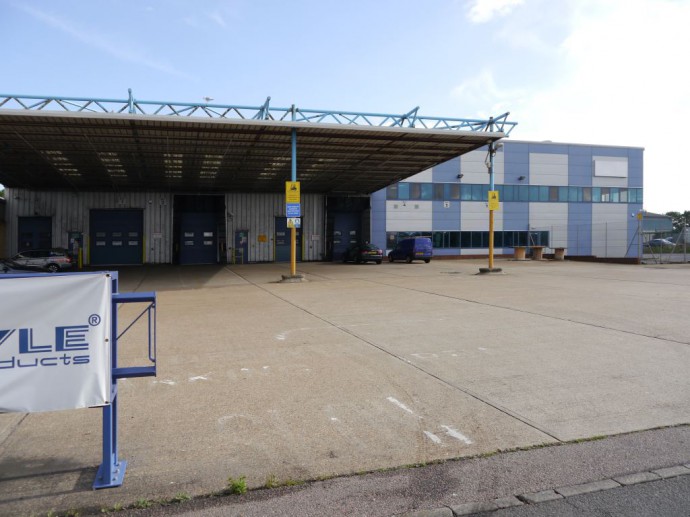
Step 6. Get the parts in! Our new warehouse has a huge great canopy out the front, so no more loading and unloading in the rain! Goods In is situated right by the doors, for the speediest of part processing before they label everything and put onto the racking. The couriers and will also collect from this area at the end of the day – we’re spoilt for choice with doors to dispatch from.

Step 7. Tell everyone you are moving, before you move in! We’ve been dropping hints for ages, but what ever you do you’ll find someone who’s managed to avoid the good news!
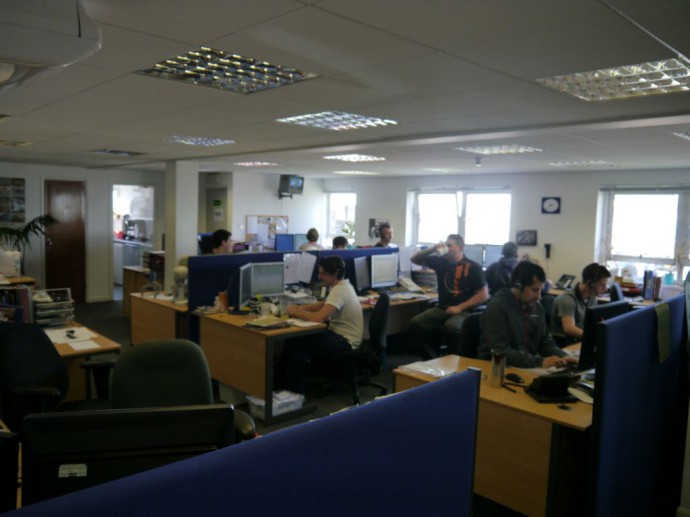
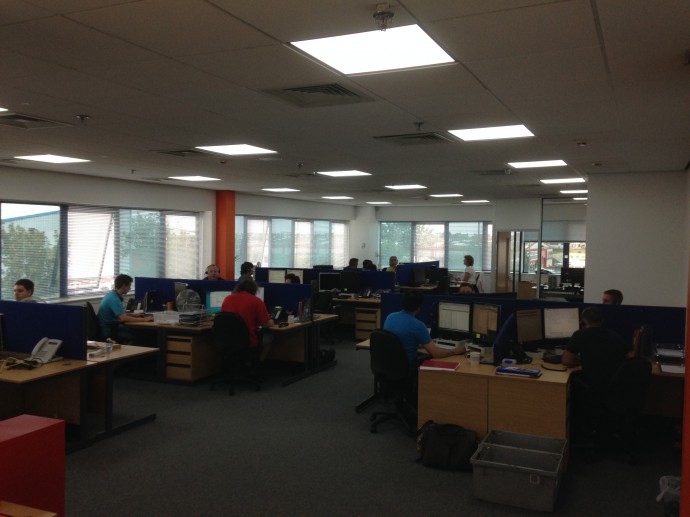
Step 8. IT required! We moved the offices in to the new building over a weekend. We have 3 main spaces. The Sales office, the Operations office and the Marketing / IT office. Each PC requires an individual link to our server, each desk needs wiring to the phone system – fortunately the bulk of this wiring was done months ago, when the building was just a shell. Here’s a spot the difference, with our old sales office and the new one.
Step 9. Open the doors! We are now open, and have been visited by quite a few customers already. While our “proper” shop is being finished we are working from another room to continue to serve the local VW community.
Step 10. Finish everything off..That’s easier said than done! There’s still plenty to do here – we have new signs to put up, the shop and reception to finish, and a small workshop to construct too. In reality, we’ll never finish, but like any new abode you eventually become more settled and you know where everything is, and it’s starting to feel like home already!
Take a look how the build progressed with this time lapse video we filmed.
Hope you can come and see us soon!
Andy